Streaming Barcode Images in SharePoint
Users of Microsoft SharePoint 2003 and above can embed barcodes into their SharePoint applications without the need to install any components on client machines. This approach streams the barcode from a server-side process right into the SharePoint application and supports many advanced barcode types including Code 128, GS1-128, Intelligent Mail IMb, PDF417, Data Matrix, Aztec, QR-Code, and MaxiCode.
While IDAutomation hosts this service with their Dynamic Barcode Generator Subscription, companies can host the same service on their server with the Streaming Barcode Server for IIS.
SharePoint Barcode Image Streaming Tutorial
The SharePoint Designer example takes a URL and streams it within the application. Specifically, this illustration explains how to add a textbox to the form and encode a barcode using a data string.
- Purchase a subscription to the Dynamic Barcode Generator Service or use the fully functional free barcode generator. 2D barcode types such as Aztec, PDF417, DataMatrix, and MaxiCode are only available in the purchased version of this product. For barcode generation on a server, IDAutomation recommends implementation with the ASP Barcode Server for IIS, which is the server-side version of the free barcode generator and is compatible with Windows Server 2000 and above, as well as all 32-bit and 64-bit versions. The IDAutomation Java Barcode Package may also be used when implemented as a servlet.
- This tutorial uses the
free version
of the Dynamic
Barcode Generator Service. To transition from the free version to
the purchased or server-side version, simply replace:
https://www.bcgen.com/demo/linear-dbgs.aspx?D= with the unique URL obtained from the streaming product to be used. - Open SharePoint Designer. From the SharePoint Designer Toolbox,
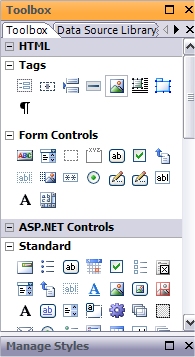
add an Image Box to the form.
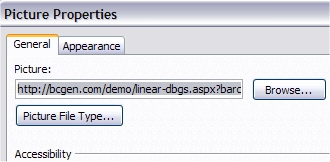
- Right-click the Image Object, select Picture Properties, and add
the URL into the Picture textbox.
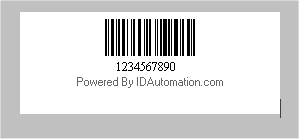
- As an example in this tutorial, a text box will be used for the data that is to be encoded in the symbol. In a real-world implementation, the data encoded will most likely be a variable such as a record number, customer number, etc.
- Add an Input textbox to the form; this will be used to modify the
DataToEncode.

- Switch to Code View, which is located at the lower left of the Designer.
- The textbox code should display: <input name="Text1" type="text"
style="width: 213px" /><br />
To create an identification to the Textbox add: id="datatoencode". - Add onchange="javascript:changeBarcode();" to allow the barcode
image to be updated as new data is entered:
<input name="Text1" id="datatoencode" type="text" style="width: 213px" onchange="javascript:changeBarcode();"/> - Create a function, a variable to hold the DataToEncode, and add
the variable to the URL:
<script>
function changeBarcode() {
var datatoencode = document.getElementByID('datatoencode').value;
document.getElementByID('barcode').src="https://www.bcgen.com/demo/linear-dbgs.aspx?D="+datatoencode";
}
<script> - Save the project as a web page. The page may now be displayed and
modified in a browser.
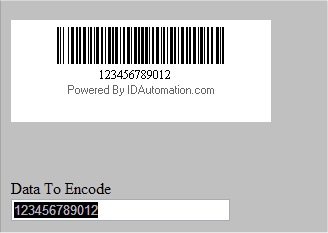
SSL encryption is enabled by changing "http" to "https". If a scanner is needed, consider purchasing the IDAutomation USB Barcode Scanner with DataBar.

