Aztec Font & Encoder Tutorial
The IDAutomation Aztec Barcode Font and Encoder package consists of components that generate Aztec barcodes using fonts and graphics. The resulting barcodes may be easily copied and pasted into any rich text or graphics application.
Font FAQ User Manual Download Demo Buy License
Aztec Barcode Font and Encoder Tutorial
After the Aztec Barcode Font and Encoder Package is installed, it may be accessed by an icon placed in Start - Programs - Group, where "Group" is the Program Name specified during installation.
Step 1
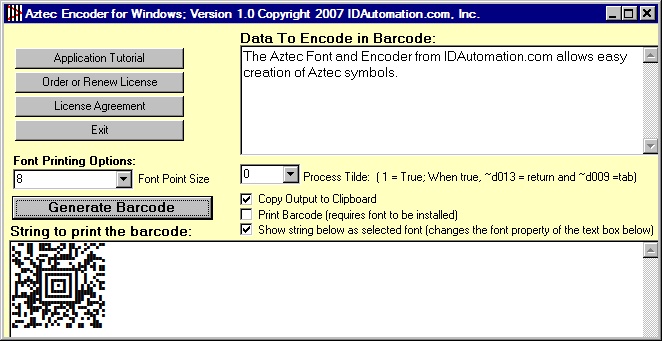
After the application starts, enter the data to be encoded in the "data to encode in barcode" field. It can print directly from this application to the printer by choosing the "print barcode" checkbox and choosing the "Generate Barcode" button.
Another process is to choose the "Copy to Clipboard" option and press the "Generate Barcode" button for pasting into other Windows® applications. After pressing this button, several lines of numbers and text will appear in the "string to print the barcode" field. To see the string represented as the font, choose "show string as selected font".

Step 2:
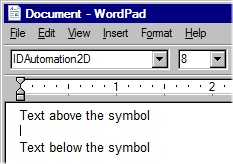
In Microsoft® Word or the desired application, place the cursor in the area to place the barcode, choose the IDAutomation2D font, and select 8 points for the size.

Step 3:
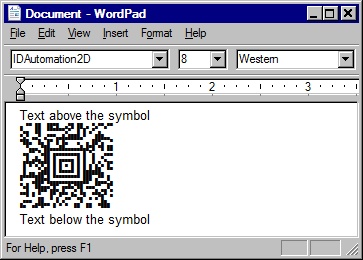
Choose Edit - Paste to paste the barcode string into the application. The symbol should appear.


