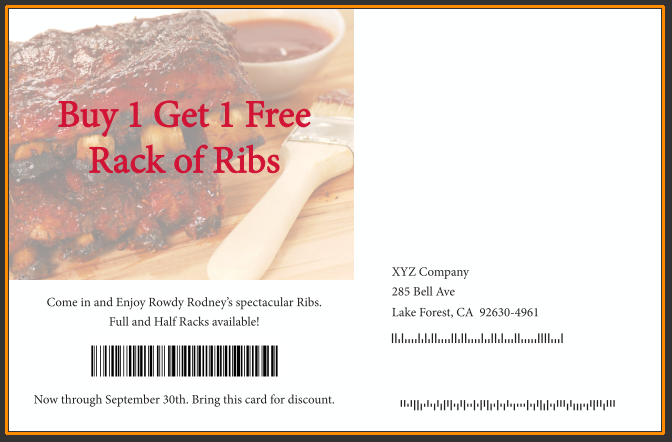
Creating Barcodes in Adobe InDesign
Adding barcodes to Adobe InDesign, on either a Windows or Mac system, is easy to do by first encoding the data to barcode using IDAutomation's VBA Office Macro, or Apache OpenOffice VB.bas and their Barcode Fonts, then using the data merge option to add the barcode to the InDesign layout. Multiple barcode symbologies can be added, including Code 128, Code 39, GS1 DataBar, USPS Intelligent Mail, UPC, Data Matrix, PDF417, QR Code, and many more.
Barcode Tutorial
This tutorial uses the Postnet and Intelligent Mail Barcode Fonts and VBA Macro for Excel to generate Postal Barcodes.
- Before merging the data into InDesign, the data that
needs to be barcoded must be encoded first, and then saved as a TXT or CSV file.
Step-by-step tutorials for Excel.

- To import the CSV or TXT file, go to Windows > Utilities > DataMerge,
click the 'Panel Menu', choose 'Select Data Source', and locate the file needed.
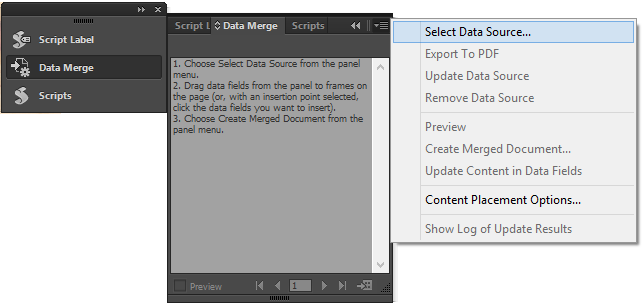
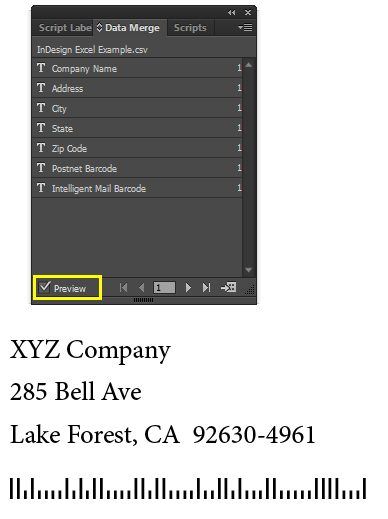
It will then populate the fields of the file:
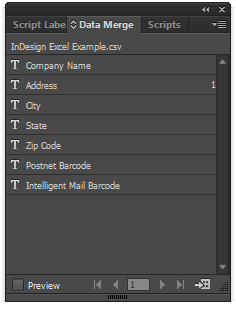
- Create a text box for each field and then drag or double-click the field
name to the appropriate text box.
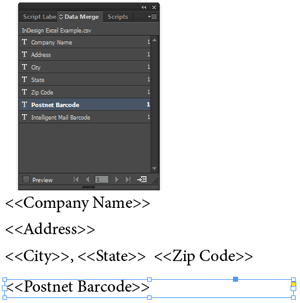
- Double-click on the <<Postnet Barcode>> field and apply the
IDAutomationPOSTNET font.

- Now click the 'Preview' check box in the bottom left-hand corner of the Data Merge Panel
and verify that the records are being populated and the barcodes appear:
-
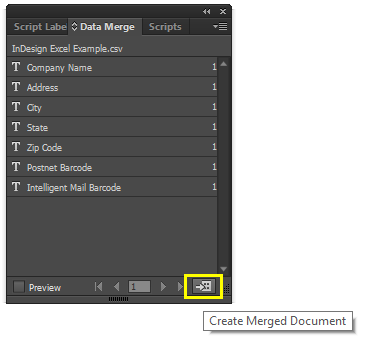
To merge records, click the 'Create Merged Document' button on the Data
Merge Panel in the bottom right-hand corner. Or select 'Export to PDF' from the Data Merge Panel.
-
Set up merge and print settings, with additional assistance from Adobe.
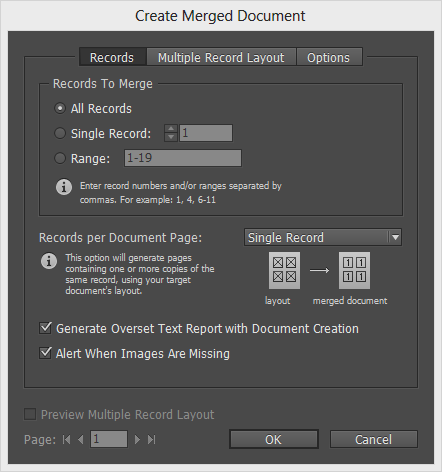
- The final result should show the barcodes.
